Arranging Fairy Lights Without the Mess
Step-by-step methods for hanging fairy lights in rental properties and around windows. We cover tension wire systems and adhesive hooks that won't damage walls.
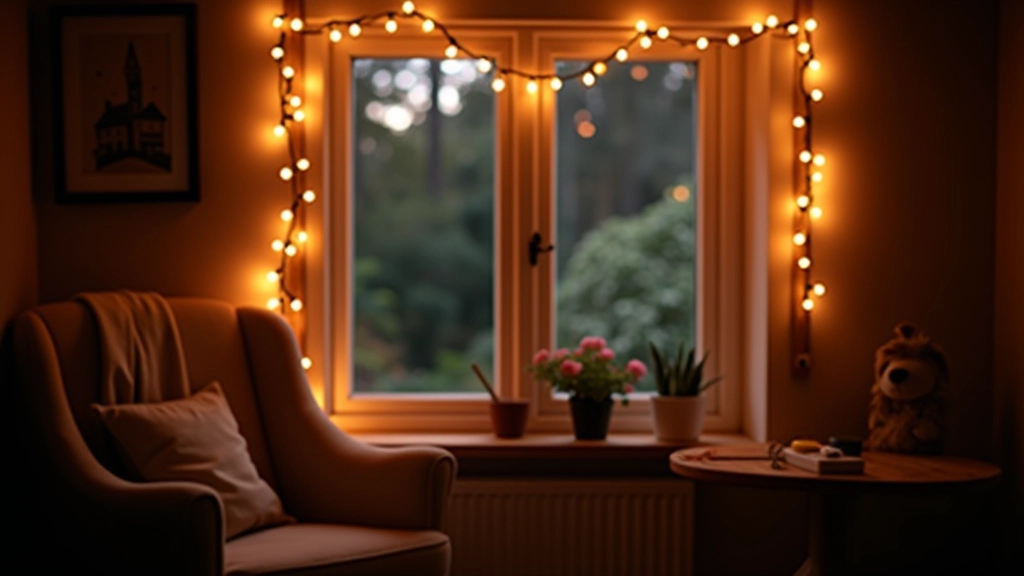

Fairy lights transform a room instantly. They're affordable, widely available, and genuinely magical when arranged well. But here's what nobody tells you — getting them up without damaging walls or creating a tangled mess is an actual skill. We've tested every method imaginable, and we're sharing exactly what works.
Tension Wire Systems — The Damage-Free Approach
If you're renting, tension wire is your best friend. You stretch a thin wire between two fixed points — usually hooks or picture rails — and clip the lights to it. No drilling, no adhesive residue, and you can remove everything in minutes.
The setup's straightforward. Install two heavy-duty hooks about 2-3 metres apart (depending on your wall length). Use picture rail hooks if your property has them — they grip without damaging the rail. Then thread your tension wire through the hook eyes and tighten it. It should be taut but not so tight that you're worried it'll snap.
Wire Selection Matters
Thin galvanised steel wire works best — it's strong, nearly invisible, and costs about £3-5 for a 20-metre spool. Don't use fishing line. It looks thinner, but it'll snap under the weight of 50 lights, and replacing it mid-season is frustrating.


Adhesive Hooks — The Renter's Backup Plan
Not every flat has picture rails or suitable fixing points. That's where adhesive hooks come in. The best ones are 3M Command hooks — they're designed for temporary mounting and actually release cleanly without leaving residue (if you follow their removal instructions).
Here's the technique. Clean your wall with rubbing alcohol first. This removes dust and oils that prevent adhesion. Press each hook firmly for 30 seconds — don't rush this bit. Then wait 24 hours before hanging anything on them. It's annoying to wait, but the hooks won't budge if you do.
Weight Limits Are Real
Standard adhesive hooks hold about 2-3 kilograms. A string of 50 fairy lights weighs roughly 200-300 grams, so you're safe. But don't hang multiple strings from one hook, and avoid rough plaster walls — they don't give adhesive enough surface area.
Five Proven Hanging Patterns
1
Straight Line
Classic horizontal line along your window or wall. Most balanced look, easiest to execute. Perfect for beginners.
2
Swooping Drape
Hang from two points and let the lights naturally droop in the middle. Creates depth and movement. Needs 3-4 metres of lights minimum.
3
Corner Cluster
Bunch lights in corners using multiple hooks close together. Creates a focal point without spanning the entire wall.
4
Frame Effect
Outline a window or mirror with lights. Requires four anchor points but looks genuinely professional.
5
Scattered Ambient
Multiple shorter strings placed at different heights around the room. Creates a layered, cosy atmosphere.
Cable Management Tips That Actually Work
The mess most people complain about isn't the lights themselves — it's the cables. You've got trailing wires, tangled strings, and nowhere sensible to plug them in.
Plan Your Plug First
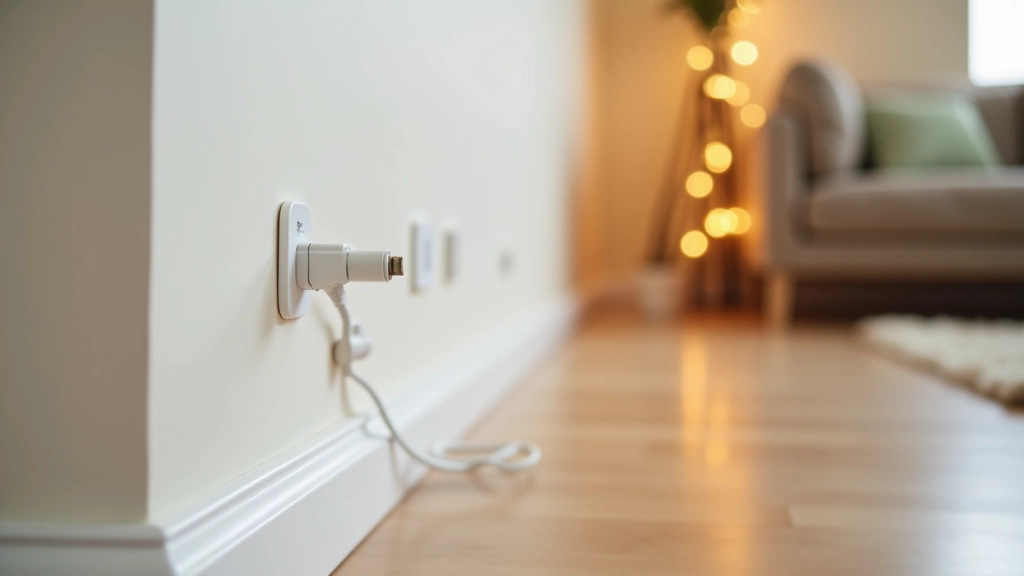
Before you hang a single light, know where your power socket is. Route your cable along skirting boards using adhesive cable clips. It's invisible and keeps things tidy.
Coil Excess Wire Neatly
Don't bunch extra cable into a ball behind furniture. Use velcro cable ties and coil it in figure-eights. Store it in a plastic bag if you're not using the lights for months.
Use Extension Reels for Flexibility
A wall-mounted extension reel lets you move lights around without unplugging and replaying cables. Costs about £8-12 and saves genuine time.
Important Safety Note
These methods work well for standard fairy lights with low power consumption (LED strings under 5 watts). For heavier installations, high-wattage lights, or permanent fixtures, consult a qualified electrician. Always check your rental agreement before installing anything — some landlords have specific rules about wall modifications. When removing adhesive hooks, follow the manufacturer's instructions exactly. Pulling them off incorrectly can damage paintwork.
Creating Magic Without the Headache
Arranging fairy lights doesn't require professional expertise. You just need the right tools — tension wire or quality adhesive hooks — and a plan before you start. Pick your pattern, measure twice, and install with patience. Within an hour, you'll have transformed your space without leaving holes in the walls or tangled cables everywhere.
The real magic happens when you step back and see it finished. Your room looks warmer, more intentional, and genuinely cosy. That's what makes the effort worthwhile.
Related Articles